Last updated October 16, 2026








Free written scope consultation - allowances, timeline, and change-order rules on paper before a single trade is scheduled
General Contractor Maintenance Checklist for San Jose Homeowners
We get called to homes in Cambrian and Willow Glen where a homeowner has patched the same step crack in their foundation three times in four years. They caulk it, paint it, and six months later the crack is back. The crack isn’t the problem. The expansive clay soil beneath those west-side neighborhoods is the problem, and it swells and shrinks with every wet winter and dry summer. This checklist is built around what actually fails in San Jose homes, not what a generic home-maintenance article says might fail. You’ll learn what to inspect, how to read what you’re seeing, and when the issue calls for a licensed contractor rather than a weekend and a tube of sealant.
Styles & brands we work with







Quick Answer
A San Jose home maintenance checklist should prioritize foundation movement signs on expansive clay soils, stucco cracking patterns typical of 1960s-1990s tract construction, HVAC strain from marine-layer summers and dry fall Santa Ana conditions, and post-rain inspection of cripple walls and anchor bolts in pre-1980 homes. The most effective approach is seasonal: inspect foundations after winter rains, stucco in fall, and roof drainage before the wet season begins. Most items are document-and-monitor tasks, but foundation movement, water intrusion behind stucco, and any work involving gas, electrical, or structural components legally require a licensed California contractor.
Table of Contents
- Foundation and Clay Soil Movement: What San Jose’s West Side Actually Does
- Stucco Inspection Protocol for 1960s-1990s San Jose Tract Homes
- Crawlspace, Cripple Walls, and Anchor Bolts in Older San Jose Stock
- HVAC and Attic Ventilation Under San Jose’s Dual-Season Stress
- Roof Drainage, Gutters, and the Wet-Season Readiness Walk
- Exterior Trim, Windows, and the Marine Layer Rot Check
- Plumbing and Water Heater Checks for Hard Water and Sediment
- What You Can Document vs. What California Law Says About Licensed Contractors
- Common Mistakes to Avoid
- When to Call a Professional
- Frequently Asked Questions
- The Bottom Line
Foundation and Clay Soil Movement: What San Jose’s West Side Actually Does
San Jose sits on several distinct soil zones. The west-side neighborhoods of Cambrian, Willow Glen, and parts of West San Jose are underlain by expansive clay that can move enough to shift a slab foundation by fractions of an inch between wet and dry seasons. That movement shows up as specific patterns: vertical step cracks in concrete or stucco, interior drywall cracks that angle from door corners toward the ceiling, and doors that stick only during certain months.
Here’s what we look for when we walk a property in this area, and what we tell homeowners to track:
- Step cracks in foundation stem walls. These follow the mortar joints in a stair-step pattern. A hairline crack you can’t fit a quarter into is usually cosmetic. A crack wider than a quarter’s thickness, or one that’s actively growing season over season, warrants a professional evaluation.
- Door frames out of square during winter. Expansive clay absorbs winter moisture and swells. Doors that bind in January and work fine in August are a classic sign of seasonal soil movement, not a framing error.
- Gaps between baseboards and flooring. When the slab shifts, interior finishes separate. Look for gaps that appear and narrow depending on the time of year.
- Garage floor cracks that align with exterior cracks. A crack that runs through the garage slab and continues up the exterior wall is structural movement, not a surface defect.
What a contractor actually does here is measure. We document crack widths with a simple gauge, mark the ends of cracks with pencil or tape, and return after a full wet-dry cycle to see if the mark has been passed. That’s the difference between a cosmetic patch and a foundation issue that needs an engineered solution. San Jose homeowners on the east side, closer to the foothills, deal with different soils entirely, usually more stable. That’s why a one-size-fits-all foundation checklist doesn’t work here.
If you’re tracking a crack, photograph it with a coin for scale and note the date. If it grows more than an eighth of an inch in a year, or you see multiple cracks appearing in a stair-step pattern across one wall, get a structural assessment from a General Contractor in San Jose who understands local soil conditions. Curtis Lane has walked hundreds of these inspections, and he’ll tell you straight whether you’re looking at normal seasonal movement or something that needs engineering.
Stucco Inspection Protocol for 1960s-1990s San Jose Tract Homes
Most of the single-family housing stock built in San Jose between 1960 and 1990 used three-coat stucco over wood framing. It’s durable, but it’s not waterproof. Stucco is a water-shedding system that relies on a building paper or housewrap layer behind it to keep moisture out of the sheathing. When the stucco cracks or the flashing details fail, water gets behind the system and sits there. And San Jose’s winter rain pattern, short intense storms followed by dry spells, creates exactly the kind of wet-dry cycling that drives moisture deep into wall cavities.
The inspection protocol we use on every San Jose stucco exterior follows this order:
- Walk the perimeter and look for crack patterns. Fine, even spider cracking across a surface is usually just the finish coat aging. Long diagonal cracks from window corners or door headers are stress cracks that suggest the opening wasn’t properly reinforced, or the framing has moved.
- Tap the surface with the flat of your hand. Loose, delaminated stucco sounds hollow. If you hear a dull thud in one area and a sharp tap in another, the stucco has separated from its substrate, the lath or the sheathing it was applied to.
- Check every penetration. Hose bibs, electrical boxes, dryer vents, light fixtures. Each one should have a watertight seal where the stucco meets the fixture. Failed caulk at a single hose bib can direct water into a wall cavity for years without showing a trace on the outside.
- Look at the bottom edge. Stucco should terminate above grade with a weep screed, a metal edge that lets water drain out of the wall system. If soil, mulch, or concrete has been added up to or above that edge, water can’t get out and the bottom of the wall stays wet.
- Inspect window returns and sills. The side walls of window openings, called returns, and the sills below them are where the majority of stucco failures begin in San Jose tract homes. Missing or improperly sloped sills collect water and direct it sideways into the wall.
If you find cracks wider than a dime, hollow areas larger than a dinner plate, or any sign of water staining at interior walls near these zones, the fix isn’t caulk. Caulking a structural stucco crack traps water behind the patch and accelerates rot. The proper repair is to remove the failed section, inspect the framing and sheathing underneath, correct the moisture barrier, and reapply the stucco system so it matches the existing texture. That’s a job for a licensed contractor who can cut out the section, dry the cavity, and get the patch to blend.
Crawlspace, Cripple Walls, and Anchor Bolts in Older San Jose Stock
There’s no such thing as earthquake season. The idea that San Jose has a time of year when earthquakes happen is a myth. What we do have is a wet season that softens soils and exposes weaknesses in pre-1980 construction, and the most common weakness is the cripple wall. A cripple wall is the short stud wall between a home’s foundation and the first floor framing, usually found in crawlspaces. In older San Jose homes, these walls were often built without adequate bracing and without bolts connecting the mudsill, the bottom horizontal board, to the concrete foundation.
In a seismic event, an unbraced cripple wall can rack sideways and drop the house off its foundation. It’s the single most common structural failure in older San Jose homes during earthquakes. And it’s something a homeowner can learn to identify.
Here’s what to look for in your crawlspace:
- Anchor bolts. The mudsill should be bolted to the foundation with visible steel bolts every four to six feet. Pre-1950 San Jose homes often have no bolts at all, or bolts that were added later without proper washers.
- Cripple wall bracing. A properly braced cripple wall has plywood or oriented strand board (OSB) panels nailed to the studs, not just open framing you can see through. If you can see daylight through the cripple wall, it’s not braced.
- Sill plate condition. The mudsill should sit flat on the foundation with no gaps. Rot at the mudsill, especially near the crawlspace access door or under plumbing penetrations, is a common San Jose issue from years of slow moisture migration.
- Post-rain inspection. Walk or crawl the perimeter after a heavy winter rain. Look for water pooling under the house, dark staining on the foundation stem wall, or visible water tracks running down the inside face of the foundation.
The order of operations for a retrofit is simple: anchor the mudsill to the foundation, brace the cripple wall with shear panels, and secure the floor framing to the cripple wall. It’s not exotic work, but it is structural. In California, this kind of retrofit falls under licensed contractor territory. The materials cost is modest because the work is mostly access. A Home Remodeling in San Jose contractor who does structural work can assess whether your home has the failure-prone configuration and scope a retrofit that meets current California building code.
HVAC and Attic Ventilation Under San Jose’s Dual-Season Stress
San Jose stresses HVAC systems in a pattern most national checklists don’t account for. Coastal marine layer influence keeps summer mornings cool and damp, which means your system runs in short, humid cycles. Then September and October bring Santa Ana conditions: dry, hot air that pulls every bit of moisture out of your system and the air it’s trying to condition. That dry-season stress is when we see most furnace failures, because the system has been cycling for months without a filter change, and the dry air has pulled accumulated dust into the blower and heat exchanger.
The attic is the other half of the equation. San Jose’s summer temperature swings put real strain on attic ventilation systems, and most pre-2000 homes in this city are under-ventilated by today’s code standards.
The checks that matter most:
- Filter condition every 60 days. In San Jose’s dusty fall conditions, a standard one-inch filter can clog in two months. A clogged filter forces the blower to work harder, shortens the heat exchanger’s life, and raises your electric bill. Mark a calendar and check it.
- Attic intake and exhaust balance. Soffit vents along the eaves should be clear. Ridge vents or cans at the roof peak should be free of debris. If you have a gable fan, confirm it’s actually running in the afternoon heat.
- Condensate drain line. In humid summer months, your AC pulls moisture from the air. That water drains through a PVC line that can clog with algae. A simple check: look for water in the secondary drain pan under the unit. If it’s wet, the primary line is clogged.
- Ductwork connections. In the crawlspace, reach up and check the joints where flexible ducts meet the metal trunk line. Tape fails after 15-20 years. A loose connection dumps conditioned air into the crawlspace and pulls in dust.
- Attic insulation depth. San Jose is in climate zone 3 or 4 depending on your exact location, and current code calls for R-38 to R-49 in attics. Most older San Jose homes have six to eight inches, which is roughly R-19 to R-25. Blown-in insulation to bring it up to current code is one of the best dollar-for-dollar returns in this city.
If your attic has old vermiculite insulation, don’t disturb it. Vermiculite from certain mines contains asbestos, and testing is required before any work that involves moving it. A licensed contractor who does Kitchen Remodeling in San Jose also handles attic access for recessed light retrofits, and they’ll flag this during a walkthrough.
Roof Drainage, Gutters, and the Wet-Season Readiness Walk
San Jose gets an average of 15 to 17 inches of rain a year, which doesn’t sound like much until you remember that most of it falls between November and March, often in a handful of intense storm systems. Roof drainage systems designed for light rain get overwhelmed when an atmospheric river parks over the Santa Clara Valley, and the failures show up exactly where you’d expect: at the foundation line.
The wet-season readiness walk takes about forty minutes and should happen every October, before the first major storm.
- Clean gutters and check pitch. San Jose’s mature oak and maple canopies drop enough debris to clog gutters within a single fall season. While you’re up there, check that gutter runs pitch toward downspouts. A sagging section holds water, and standing water rusts steel and breeds mosquitoes.
- Trace every downspout to its discharge point. The water should discharge at least four to five feet from the foundation. A downspout that terminates right at the stem wall is worse than no gutter at all, because it concentrates a whole roof slope’s worth of water onto one foundation point.
- Inspect flashing at roof penetrations. Plumbing vents, furnace flues, skylights, and the intersection where a lower roof meets an upper wall. Failed flashing here leaks into the attic, not into the living space, so it can go undetected for years until the decking rots.
- Look at the roof edge and drip edge metal. The drip edge should extend over the gutter lip so water can’t wick back into the fascia. A missing or bent drip edge rots the fascia board behind the gutter.
- Check the attic from below. The day after a heavy rain, get into the attic with a flashlight and look for dark staining on the underside of the roof decking, especially around penetrations and in valleys. A stain that’s dry now but darker than the surrounding wood tells you water was there during the storm.
- Window sills and the bottom rail of window frames. These collect condensation every morning during the fog season. Run your fingertips along the bottom edge. If it feels soft, probe it gently with a flathead screwdriver. Sound wood is firm. Rot gives way.
- Door thresholds and the trim at the base of exterior doors. Water wicking through failed caulk at the threshold rots the subfloor under the door. This repair is more involved than it looks, because the rot typically extends under the finished flooring inside.
- Fascia and rake boards. The boards running along the roof edge. They’re exposed to both morning damp and direct sun, and they’re the most common rot location on San Jose homes with overhanging eaves.
- Where wood meets concrete or stucco. The bottom few inches of wood posts, trim, and siding that touch masonry or stucco wick moisture upward. Look for paint that’s separating in a horizontal line a few inches above the transition.
- Flush your water heater annually. Connect a garden hose to the drain valve and run a few gallons through until the water runs clear. This removes the settled sediment that causes the popping and rumbling sound in gas water heaters. If your heater has never been flushed and it’s more than five years old, flushing it can dislodge scale that clogs the valve, so this one may be better left to a professional on the first pass.
- Test the temperature and pressure relief valve. The T&P valve on the side or top of your water heater is a safety component that releases pressure if the tank overheats. Lift the lever briefly and let it snap back. Water should come out, then stop when you release. If it drips continuously after testing, it needs replacement before it becomes a safety issue.
- Check every shutoff valve in the house. Angle stops under sinks and toilets, the main shutoff at the house, and hose bibs outside. Turn each one off and on. A valve you can’t operate is a valve that won’t help you when a supply line bursts. Replace any that are frozen open.
- Inspect supply lines at the connection points. Braided stainless steel supply lines have largely replaced rubber in newer homes, but San Jose homes built before 1995 often still have original rubber lines. If you see any cracking, discoloration, or bulging at the connector, replace the line.
- Look for mineral deposits at all visible joints. White or green crusty buildup at pipe joints and shutoff valves means a slow leak that’s been sealing itself with minerals. The leak is still there underneath the crust. That’s a repair, not a wipe-down.
- Work you can document and monitor yourself: Foundation crack measurement and seasonal tracking, gutter cleaning, visual stucco inspection, water heater flushing, filter changes, drainage walkthroughs, and condensation checks. You’re not modifying anything. You’re recording what you see and maintaining consumables.
- Work that requires a licensed contractor under California law: Any job over $500 in labor and materials when you’re hiring someone else, any structural modification including cripple wall retrofits and foundation work, any electrical work beyond replacing a light fixture or outlet, any gas line work, and any plumbing work beyond replacing a fixture or a supply line in place.
- The permit question: In San Jose, structural work, window replacements that change rough openings, roof replacements, water heater replacements, and substantial electrical or plumbing work all require permits. A contractor who tells you a permit isn’t necessary for these jobs is telling you something that contradicts city code. Permits protect you: the inspector’s job is to verify the work was done to current code, and that’s the same standard a buyer’s home inspector will apply when you sell.
- Caulking foundation cracks. Caulk doesn’t stop foundation movement. It hides the evidence while the soil continues to shift. If you caulk a crack that’s actively moving, you lose the ability to track whether it’s growing, and you push the problem down the road where it’s more expensive to fix.
- Ignoring downspout discharge. The most common cause of foundation settlement on San Jose’s west side isn’t the soil’s fault. It’s water being concentrated at the foundation line by downspouts that terminate right at the stem wall. Extending downspouts costs less than fifty dollars and often solves the problem entirely.
- Painting over stucco cracks without addressing the cause. A painted-over crack is still a crack. Water gets in behind the paint film, and now you’ve trapped it with a surface coating. The crack needs to be addressed, not decorated.
- Using interior caulk on exterior penetrations. Latex interior caulk fails in one San Jose summer. Exterior caulk is a different product with different flexibility and UV resistance. Use an exterior-rated sealant meant for the specific materials you’re joining.
- Flushing an old water heater that’s never been flushed. That sediment has been building for years, and flushing it can force scale into the drain valve or dislodge chunks that clog downstream fixtures. If the unit is over five years old and has no maintenance history, call a professional for the first flush.
- Wrapping insulation around water pipes without addressing the leak first. Insulating a leaking pipe just hides the leak until the insulation is saturated and mold is growing in the wall cavity. Find the leak, fix it, then insulate.
- Assuming earthquake retrofits are optional in San Jose’s housing stock. If your home was built before 1980 and it has an unbraced cripple wall, it’s not a matter of whether the retrofit adds value. It’s a matter of whether the house stays on its foundation in a significant event. The cost of a retrofit is a fraction of the cost of lifting a house back onto its foundation.
Roof drainage problems show up as two symptoms at ground level: moss or algae growth on the foundation wall, and soil erosion where downspouts hit grade. If you see either, your drainage system is failing before the water even gets a chance to create a foundation issue.
Exterior Trim, Windows, and the Marine Layer Rot Check
San Jose’s marine layer influence means morning fog and dew for a good chunk of the year, especially in neighborhoods closer to the bay and the lower foothills. Wood trim that’s perpetually damp in the morning and baked dry by afternoon sun fails in a specific pattern: the paint film on the underside of the wood stays intact while the top face develops hairline cracks, and water works its way into the end grain. The result is soft, punky wood that looks fine from five feet away and crumbles when you touch it.
The marine layer rot check should focus on these zones:
If you’re replacing rotted trim, don’t splice in a short section and call it done. The rot you can see is typically 30 to 50 percent smaller than the rot that’s actually there once you open the wall. Cut back until you hit sound wood, treat the cut ends, and use materials that handle San Jose’s damp-dry cycling better than raw lumber. Fiber-cement trim products and cellular PVC are far more stable in this climate than wood, and brands like James Hardie produce trim boards specifically designed to take this kind of exposure. One of the exterior door brands we specify, Therma-Tru, builds door frames with composite stiles that resist the bottom-edge rot we see constantly in older San Jose homes.
Plumbing and Water Heater Checks for Hard Water and Sediment
San Jose’s municipal water is moderately hard, typically running six to ten grains per gallon depending on your source and the season. Over a decade, that’s enough mineral deposition to build up a quarter inch of scale inside your water heater, reduce the efficiency of your water heater, and accelerate the failure of rubber washers and seals throughout your plumbing system.
The plumbing checklist should be an annual habit:
Water heater replacement in San Jose involves specific code requirements: earthquake strapping, a properly sized expansion tank, and a discharge line on the T&P valve that terminates at a safe location. Gas water heater work requires a permit and a licensed contractor who pulls it. It’s not a handyman job.
What You Can Document vs. What California Law Says About Licensed Contractors
California Business and Professions Code Section 7048 allows homeowners to do work on their own residence without a contractor’s license, but there are real limits. The moment you hire someone else to do work that requires a contractor’s license, that person must actually hold one. And there are categories of work where the risk of doing it wrong is high enough that the cost of the mistake dwarfs the price of hiring it done.
Here’s the practical breakdown for San Jose homeowners:
When we do a Bradford Remodeling Co San Jose home project, the permit question is settled before the contract is signed. We pull the permits ourselves, schedule the inspections, and you get a signed inspection record at close. It’s part of what The Garrison Standard requires: the work is documented, permitted, and covered by the 365-Day Done Right Promise in writing. You don’t have to argue with a contractor about whether a permit is needed. That conversation is already settled.
Common Mistakes to Avoid
When to Call a Professional
Call a professional when you find active foundation movement, a structural stucco failure, water intrusion in the crawlspace, or any work involving gas, structural, or electrical components. Call before you attempt a cripple wall retrofit on a pre-1980 home, before you replace a water heater, and before you tackle any repair where you can’t see the full extent of the damage. A contractor’s job is to open the wall, find the actual extent, and fix it so it stays fixed. Bradford Remodeling Co San Jose offers our General Contractor services with free estimates in San Jose. Call (669) 272-2637 and Curtis Lane or one of the team will walk the property with you, give you a written price before any work starts, and explain exactly what needs doing and why. No pressure, no numbers that move at the door.
Frequently Asked Questions
A foundation inspection by a general contractor in San Jose typically runs between $200 and $400 when performed as a standalone service, and many contractors, including Bradford Remodeling Co San Jose, include a foundation assessment as part of a free estimate for any project that touches the structure. Call (669) 272-2637 if you’re seeing step cracks or sticking doors and want a straight answer about what you’re dealing with, free estimates are part of how we operate.
Twice a year is the right cadence for San Jose: a wet-season readiness walk in October before the first storms, and a dry-season check in April or May after the last rain has dried out. For Seasonal Construction Care for San Jose: Year-Round Homeowner’s Guide details, see our resources. The October walk focuses on drainage, gutters, roof flashing, and crawlspace water. The spring walk focuses on foundation crack comparison, stucco condition after winter stress, and HVAC prep before the cooling season.
Most standard homeowners insurance policies in California do not cover foundation settlement or movement caused by expansive soil, because it’s considered a maintenance issue rather than a sudden event. Earthquake damage to foundations is covered only if you carry a separate earthquake policy. If the foundation issue was caused by a covered peril, like a broken pipe that eroded soil, that’s a different conversation with your adjuster. A contractor who’s done this work in San Jose can help you document the cause, which matters when you’re filing a claim.
Not necessarily. Fine hairline cracks in stucco are often just curing shrinkage or thermal expansion. The distinction is in the pattern and the width: a random hairline crack is cosmetic, while a diagonal crack running from a window corner, a crack wider than a dime, or multiple step cracks in a line suggest movement. Document it, measure it, and check again in a few months before deciding what it is.
In San Jose, replacing a window with a new window of the same rough opening size does not require a permit, but changing the rough opening size, adding a window where none existed, or converting a window to a door does. Exterior door replacements with the same rough opening are typically exempt if they’re in kind. When in doubt, ask the contractor you’re considering to pull the permit-see our How to Hire a Construction Contractor in San Jose: A Step-by-Step Guide for what to look for. If they resist, that resistance is telling you something about how they operate.
A cripple wall is the short stud wall between the foundation and the first floor framing, most commonly found in the crawlspace of homes built before 1980. In an earthquake, an unbraced cripple wall can rack sideways and allow the house to slide off its foundation, and that’s the single most common structural failure we see in older San Jose homes. The fix is straightforward, anchor bolts plus shear paneling, but it’s structural work that belongs with a licensed contractor.
The Bottom Line
San Jose homes fail in patterns that are specific to this city’s soil, climate, and construction history. Expansive clay moves foundations in Cambrian and Willow Glen. Marine layer moisture rots trim and stresses stucco. Pre-1980 cripple walls remain unretrofitted in thousands of homes across the valley. The maintenance that matters is seasonal, documented, and honest about the difference between a cosmetic issue and a structural one. Explore more guides & resources on our blog. Most of the checks on this list cost nothing but time. The ones that cost money are cheaper now than they will be after a failure. If you want a professional assessment of what your home actually needs, call Bradford Remodeling Co San Jose at (669) 272-2637 and we’ll walk it with you. Written price before work starts. Every time.
Written by Curtis Lane, Owner at Bradford Remodeling Co San Jose, serving San Jose since 2004.
See the difference
 Before
 After
After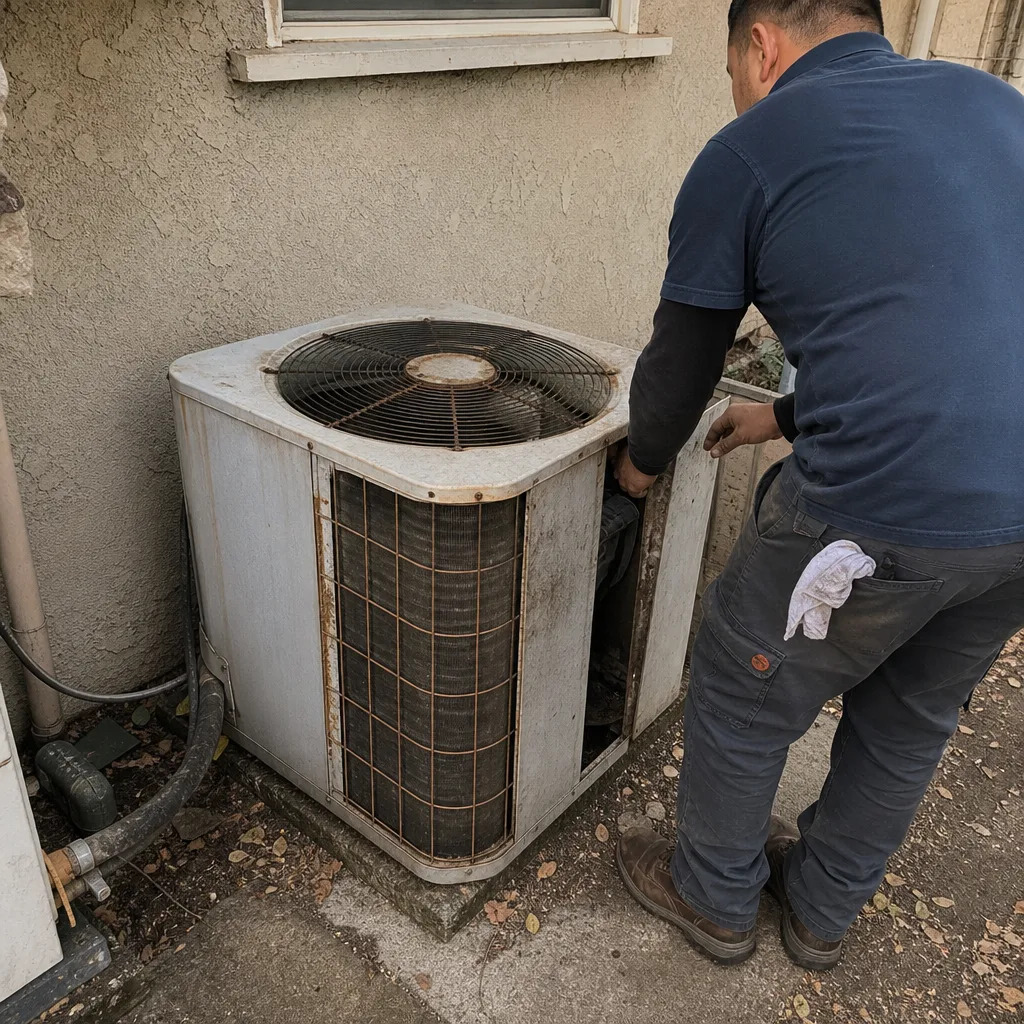 Before
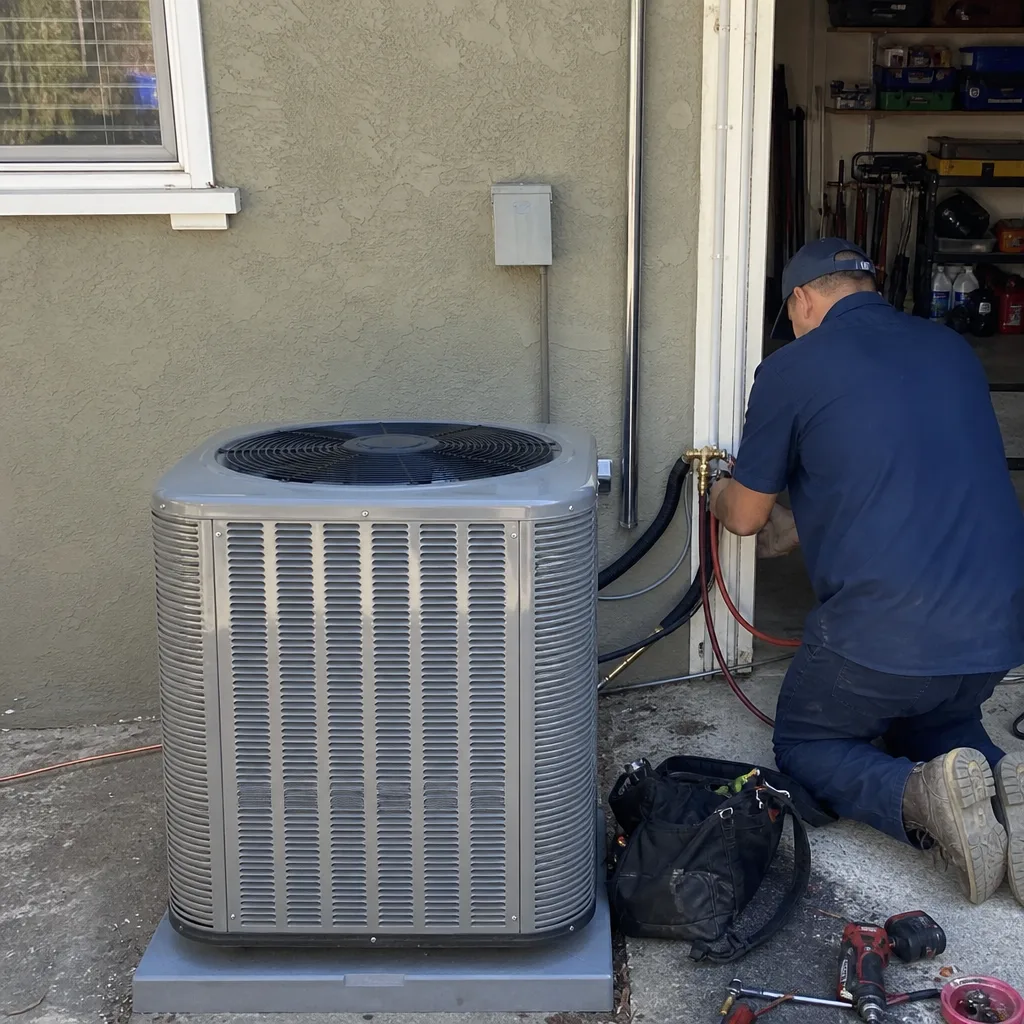 After
After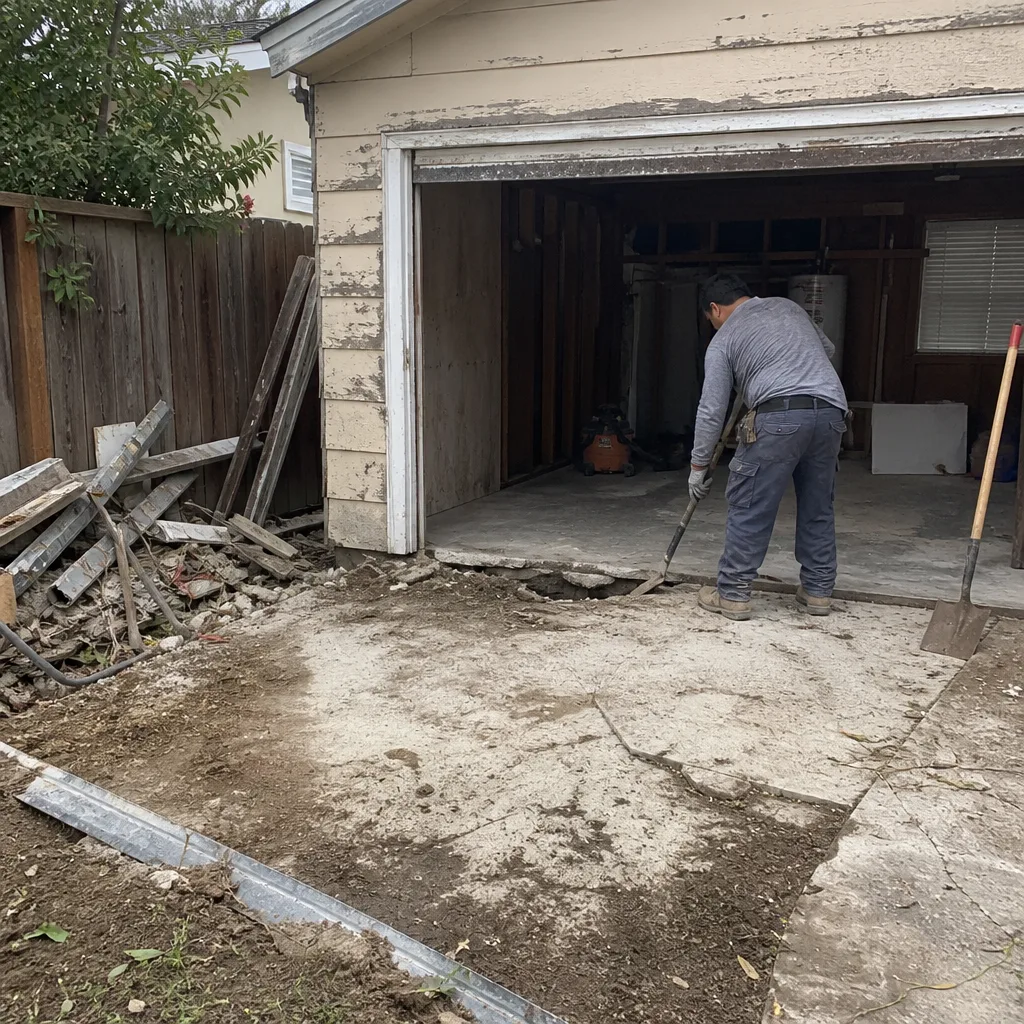 Before
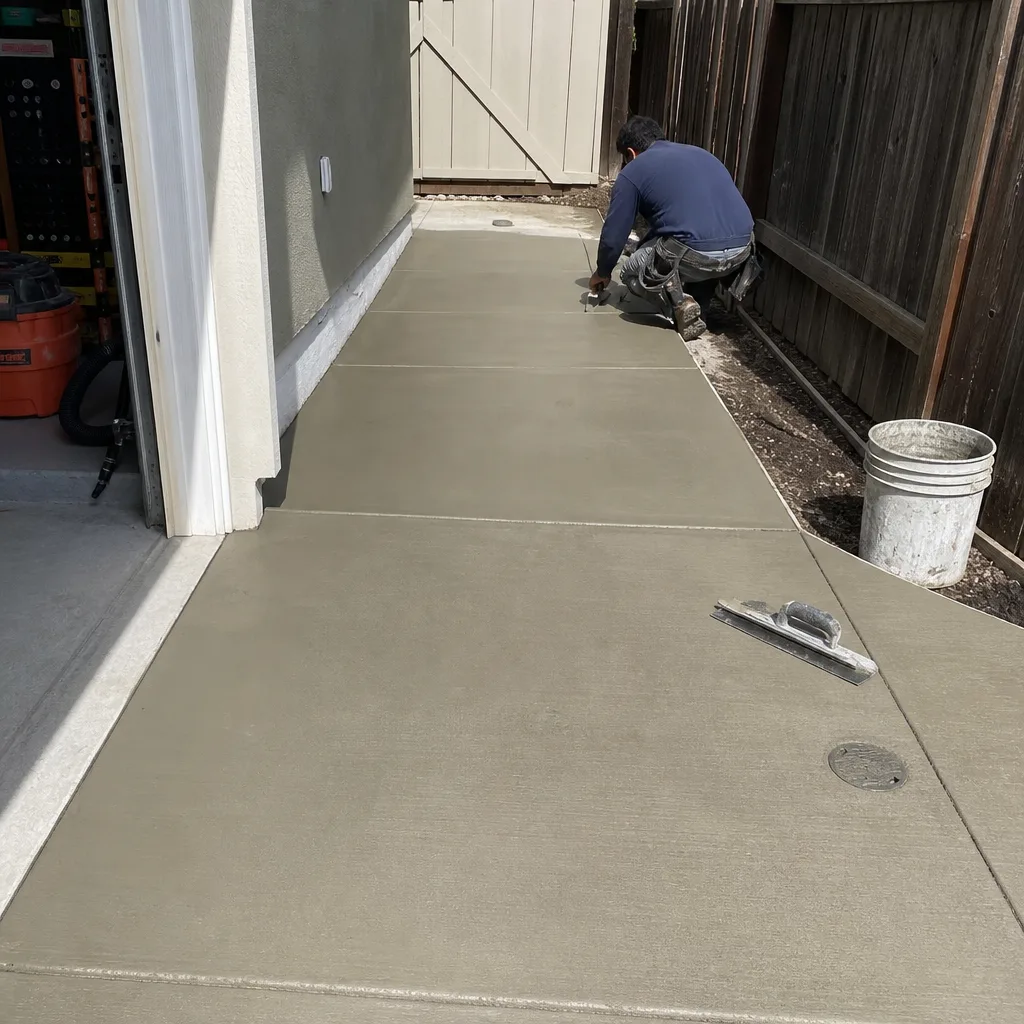 After
After