Free written scope consultation - allowances, timeline, and change-order rules on paper before a single trade is scheduled
Tamko Home Additions & ADU: The San Jose Owner’s Guide
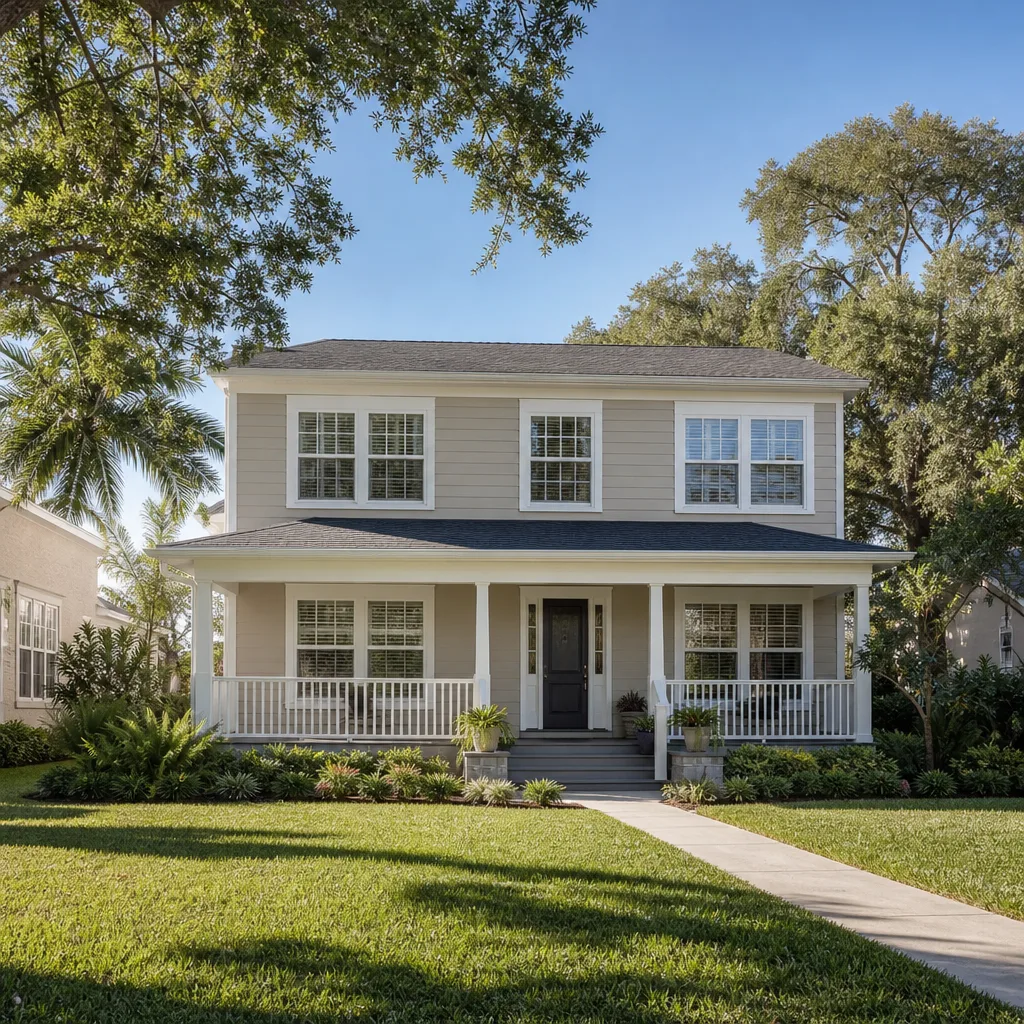
If you’re looking at a Tamko home addition or ADU in San Jose, the installed cost runs $53,100 – $153,400 for a full addition, and $106,200 – $259,600 to build an ADU from the ground up. We install and service Tamko building products as a standalone contractor – we’re not affiliated with Tamko – and we stock the common roofing and waterproofing components on the truck so a failing part doesn’t stall your project. Most San Jose homeowners call us after their existing structure starts showing water intrusion at the tie-in point, which is where additions fail first in our climate.
The typical story we hear goes like this: you built an addition years ago, or inherited one with the house, and now there’s a soft spot near the roofline, or the siding pulls back enough to see daylight at the seam. Tamko’s underlayment and flashing products were doing their job until they weren’t. We find the breach, match the replacement to the original spec, and bring the structure back to a sealed condition before the damage spreads to framing.
Key Takeaways
- Installed Tamko-compatible additions and ADUs in San Jose run $53,100 – $153,400 depending on scope and site conditions.
- We stock common Tamko underlayment, flashing, and shingle components; odd-lot or discontinued series parts take 3 – 5 business days to source.
- San Jose’s wet winters and summer heat cycles mean failed tie-ins and step flashing show up first, not the field materials.
- Every installed part is covered under the 365-Day Done Right Promise – if it fails within a year, we return at no charge.
Which Tamko Models This Applies To
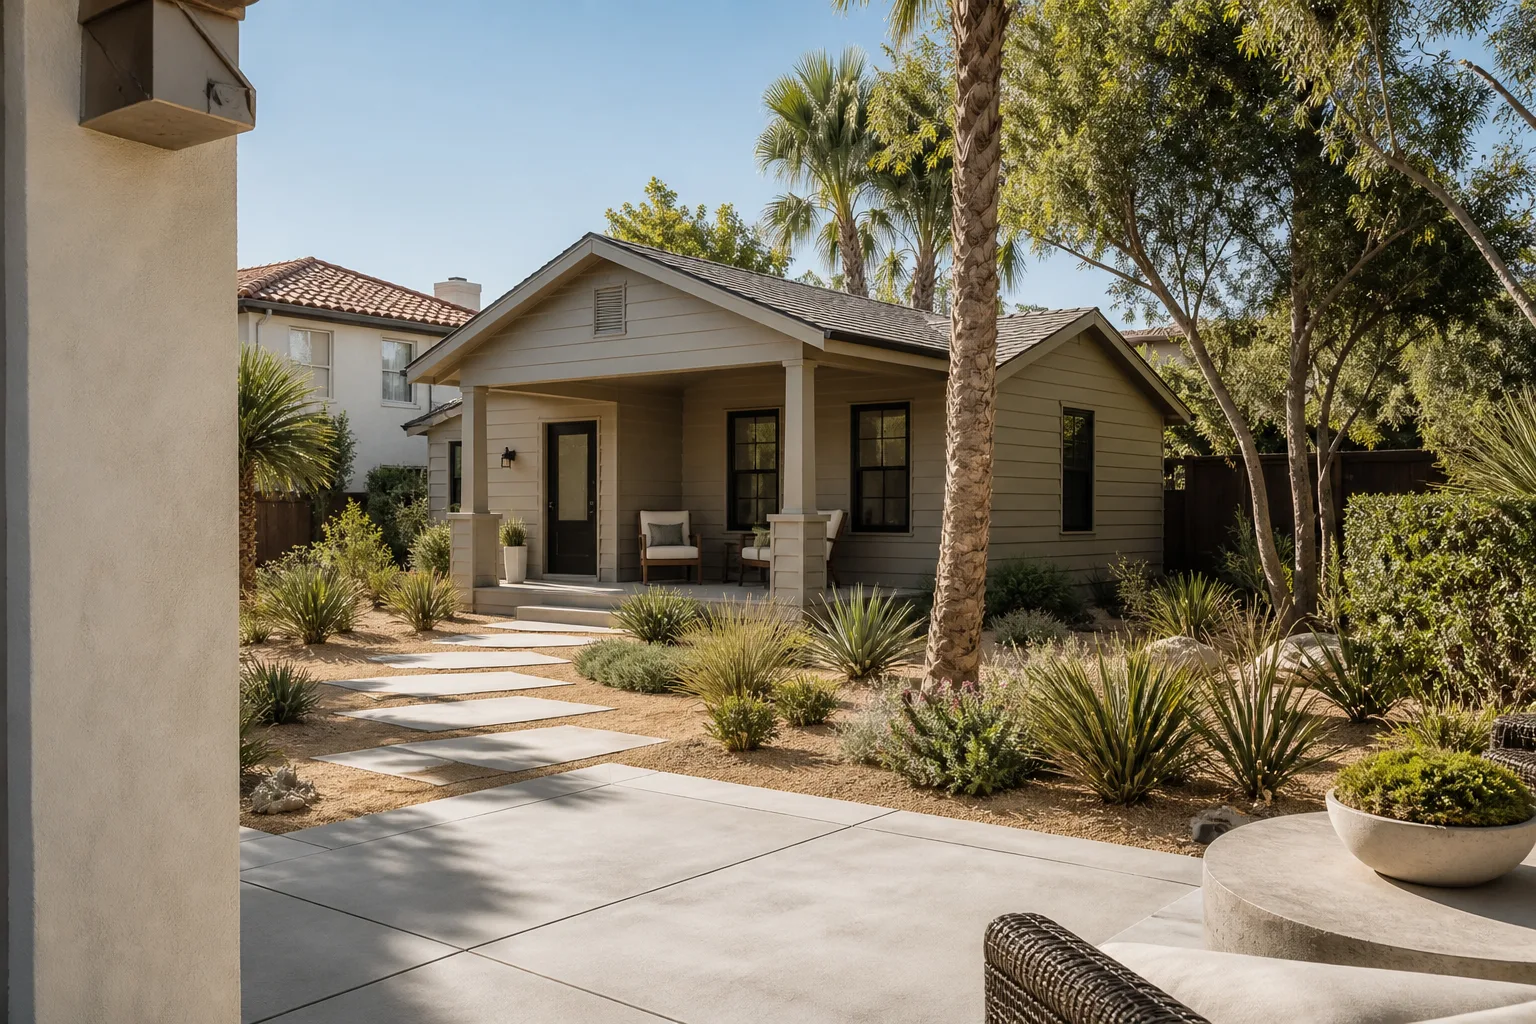
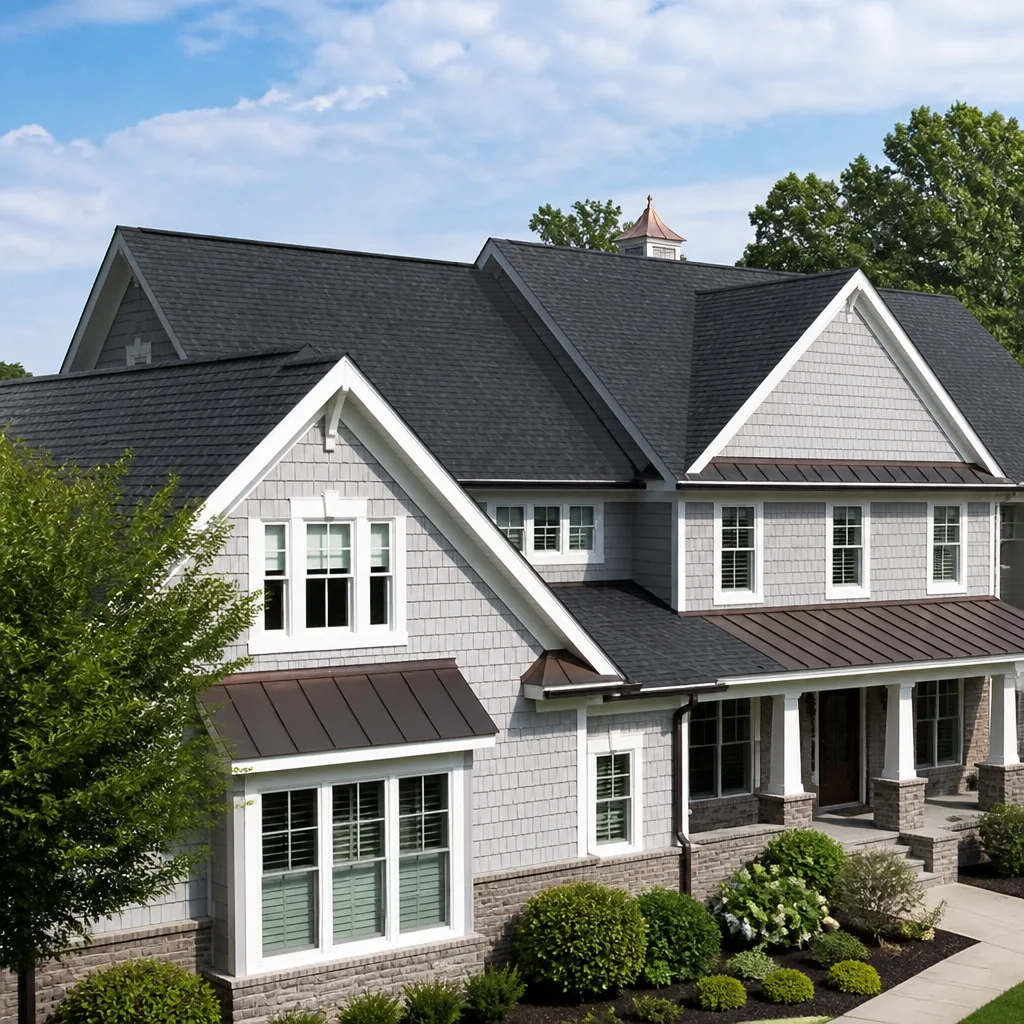
Tamko’s product line for additions and ADUs breaks into three groups that matter in San Jose: their Heritage and Elite shingle series for the roof fields, their TW waterproofing underlayments (TW Series, including the self-adhered TW60), and their MetalWorks steel shingle profiles paired with Tamko step flashing and valley metal. The part you need depends on where the structure is failing, and the model line is usually stamped on the packaging or printed on the underlayment selvedge edge. If the original label is gone, we match by measuring exposure, thickness, and adhesive strip placement against the current spec sheets.
Here’s the compatibility gotcha with Tamko: their TW self-adhered underlayment from before 2018 has a different adhesive chemistry than current production. Peeling back old TW and laying new TW over the same surface often fails at the lap seams unless the substrate is cleaned and primed to the current manufacturer spec. We see this regularly in Willow Glen additions where the original paper-faced underlayment was never pulled before a re-roof. We don’t skip that step, because a skipped substrate prep is a call-back waiting to happen.
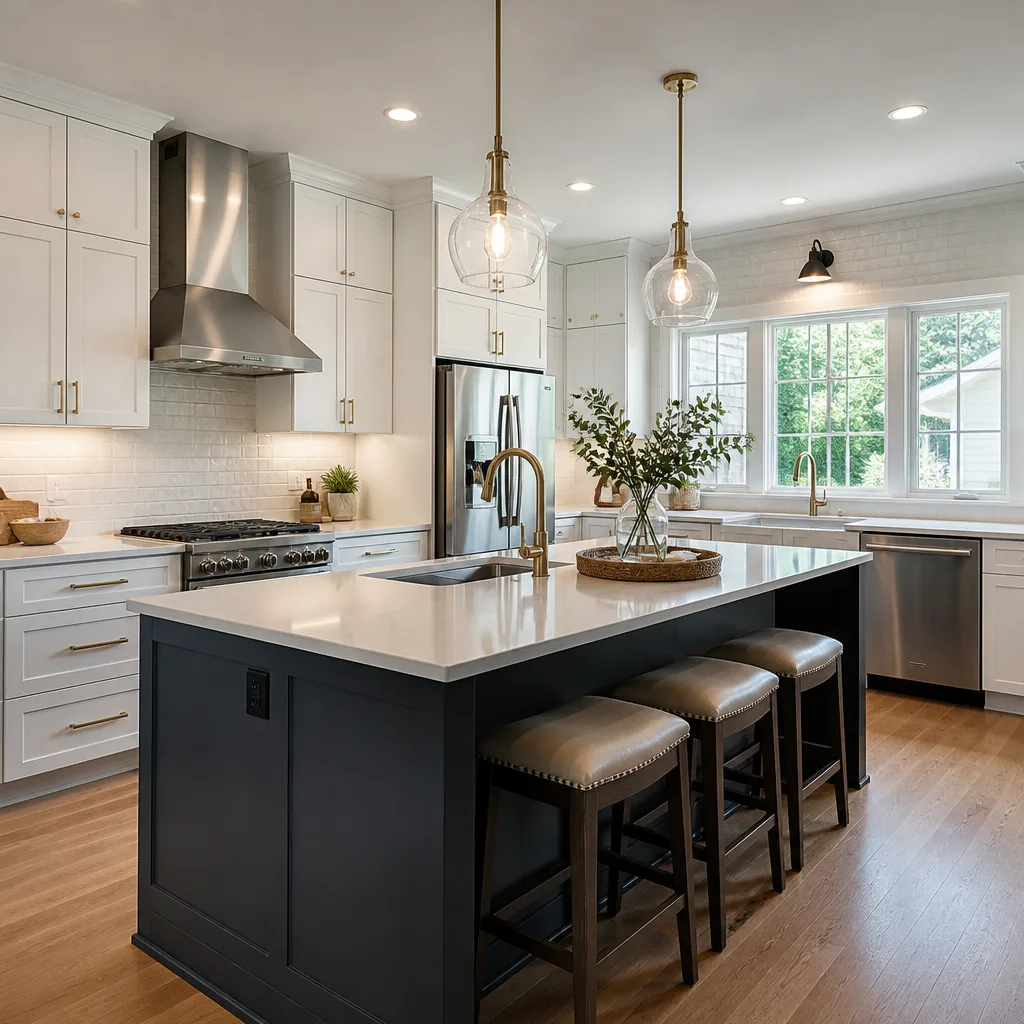
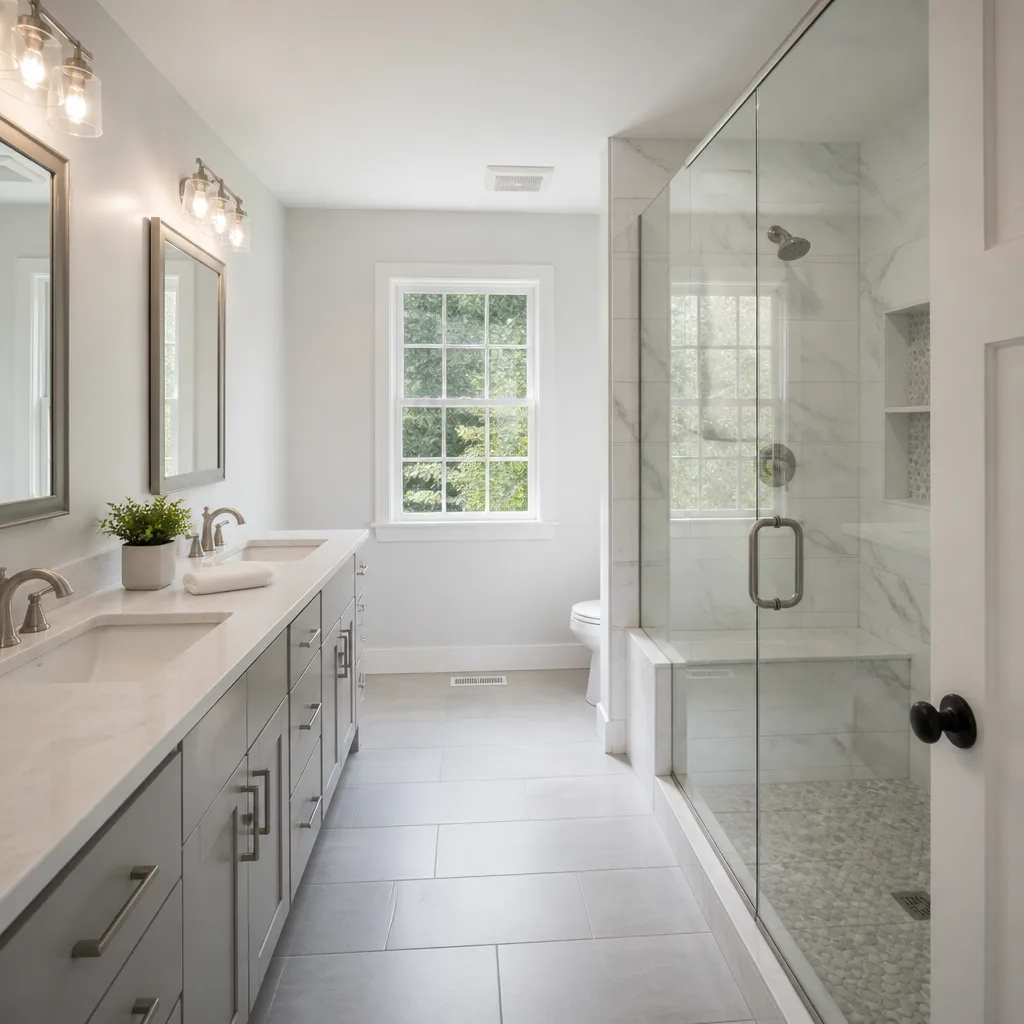
Styles & brands we work with
Signs Your Tamko Home Additions & ADU Is Failing
- Dark staining at the tie-in or valley. This means water has been riding the flashing line and soaking the underlayment for weeks. The leak is almost always at the junction where your addition meets the original roofline, not in the open field.
- Soft plywood at the eave, felt from underneath. If you can press the sheathing and it gives, the Tamko underlayment above has already been breached. By the time the deck feels soft, the water has been working on it for a season or more.
- Granule loss in gutters or at downspouts. Tamko shingles on San Jose additions shed granules faster than the manufacturer expects when the roof has poor ventilation, which our summer heat worsens. Heavy granule buildup in one spot means that slope is aging out.
- Flashing pulled away from the wall. On stucco-sided additions, the kickout and step flashing can pull back as the wall settles. A 1/4-inch gap is all it takes for wind-driven rain to run behind the flashing instead of over it.
- Interior drywall cracks at the addition seam. Not every crack is structural, but cracks running diagonally from a corner of a window or door where the addition meets the original house suggest settlement that can rack the roof-to-wall flashing. We check the exterior before anyone patches drywall.
Replacement Cost & What’s Included
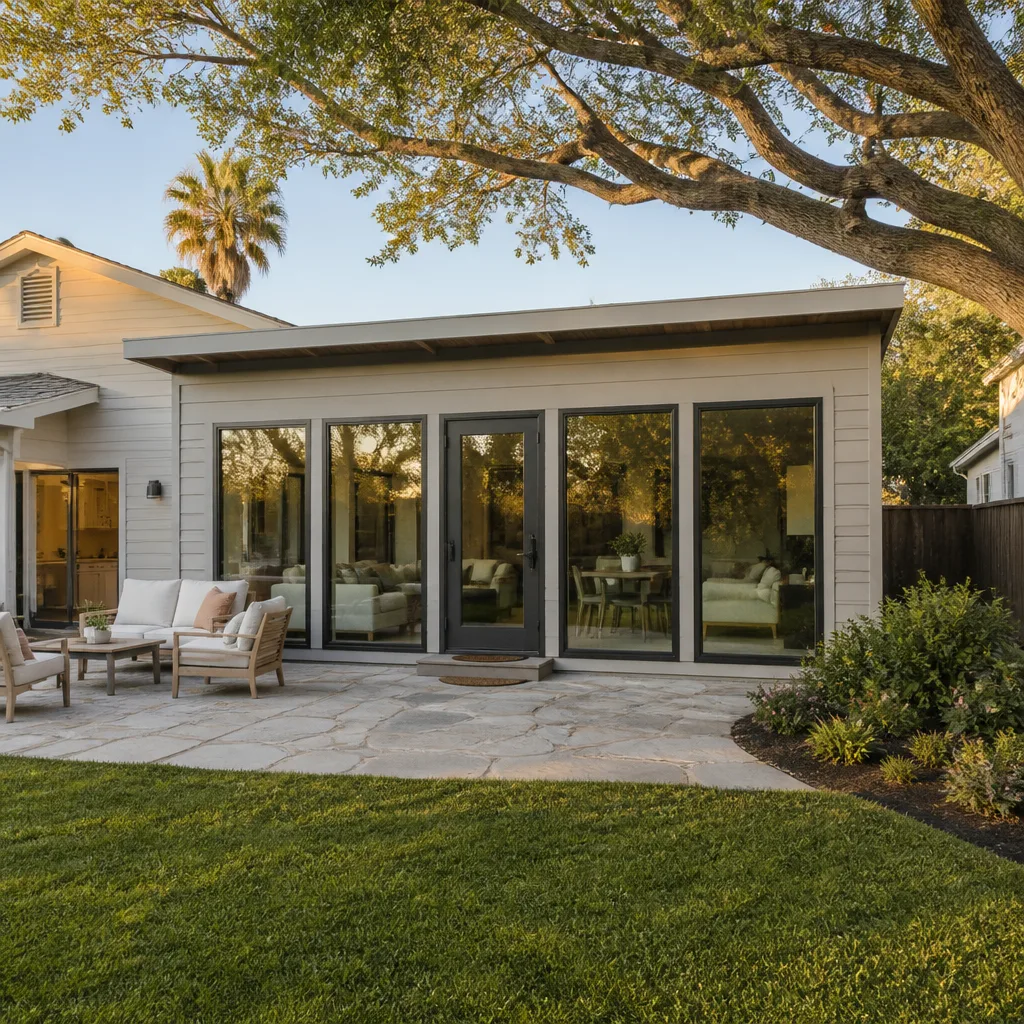
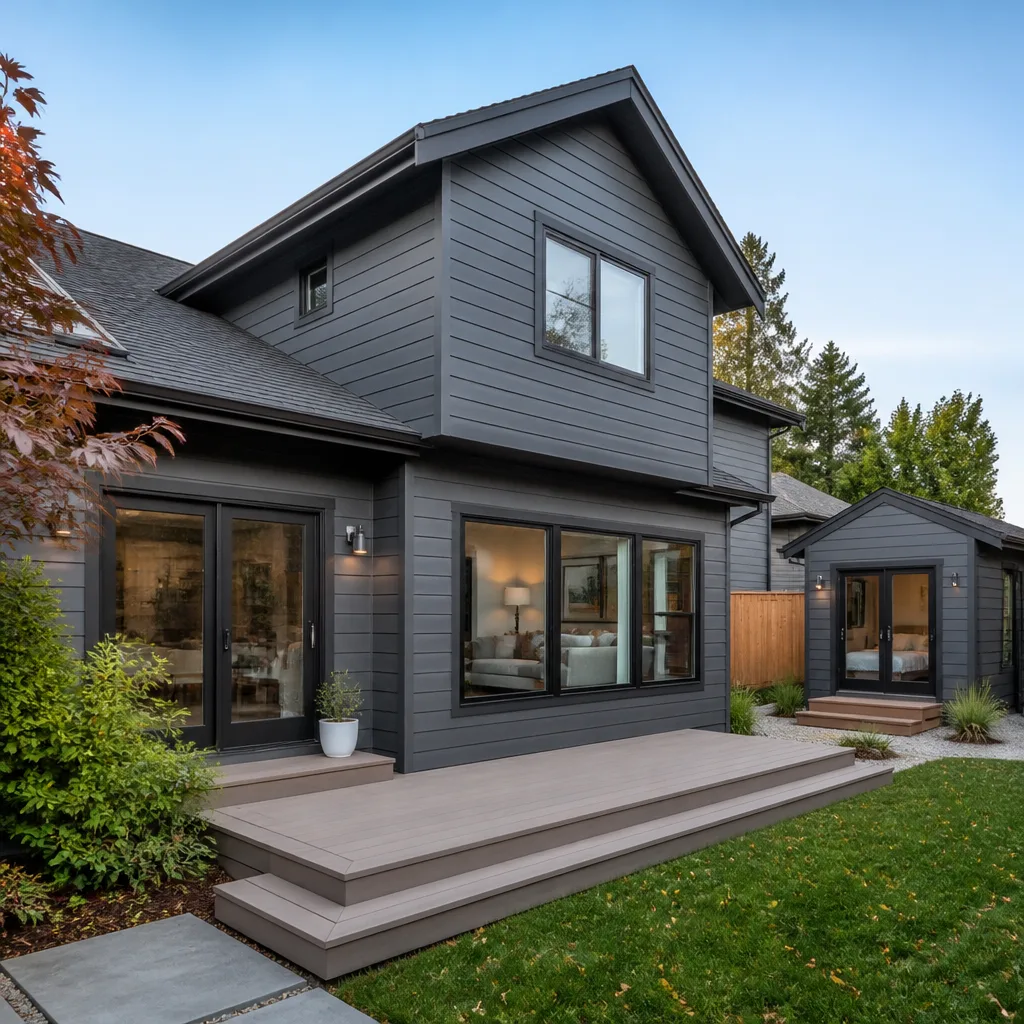
For a residential addition in San Jose that involves Tamko roofing and flashing replacement as part of the scope, you’re looking at $53,100 – $153,400 depending on square footage, whether you’re tying in at the roofline or the wall, and whether the existing framing needs remediation. A smaller scope – say, replacing all step and valley flashing, repairing the sheathing at a failed tie-in, and laying new TW underlayment plus shingles on an existing one-story addition – lands on the lower end. A full second-story addition with new trusses, framing, roofing, and siding goes to the top of that range and sometimes beyond on complex sites.
Every estimate is a written line-item number before any work starts. That’s not a sales posture; it’s how we run. You’ll see the part number for the Tamko underlayment, the flashing gauge and material, the shingle line and color, and the labor to strip and relay. No allowances, no “we’ll see when we open the wall.” If the wall reveals rotten framing when we open it, we stop, show you, and write a change order. The 365-Day Done Right Promise covers the installed work for a full year; if the roof leaks at the tie-in within that window, we come back and fix it at no charge. Straight number, written scope, done when we said done.
See the difference
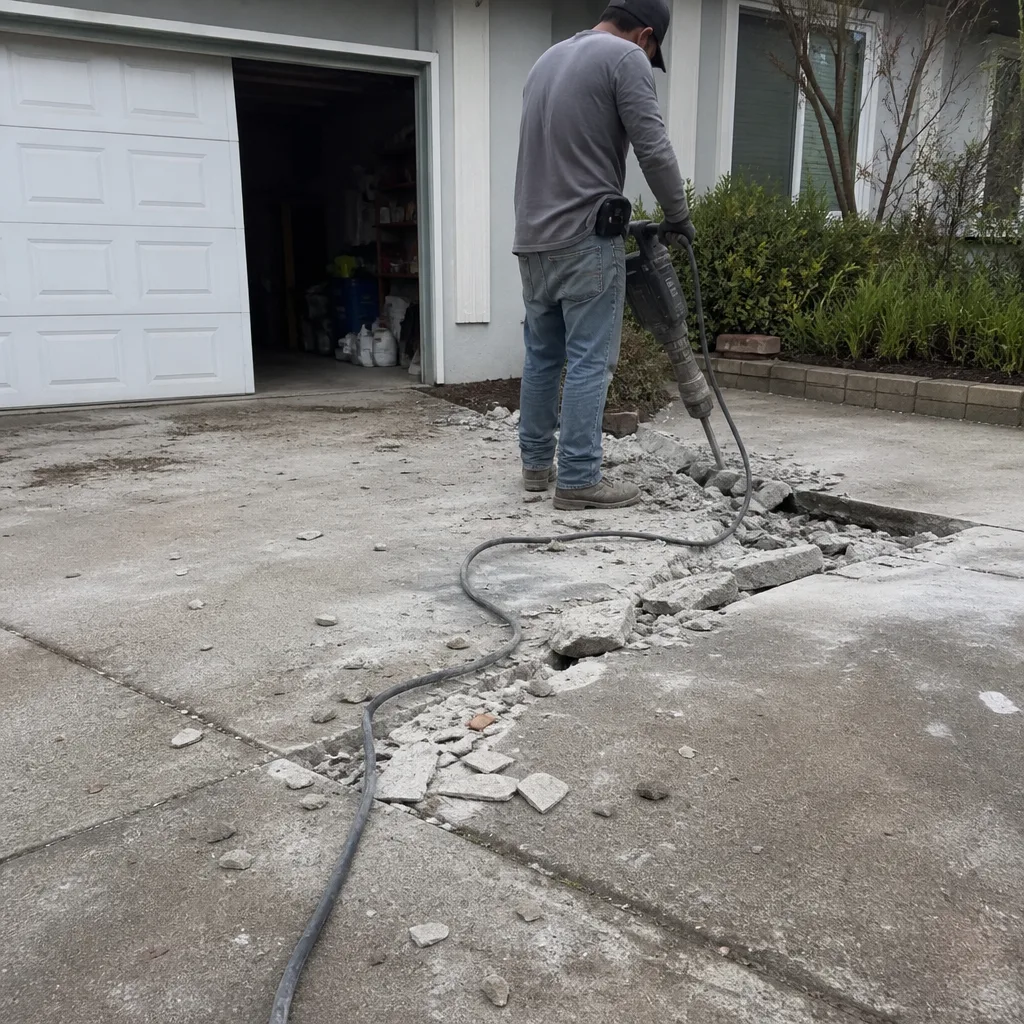 Before
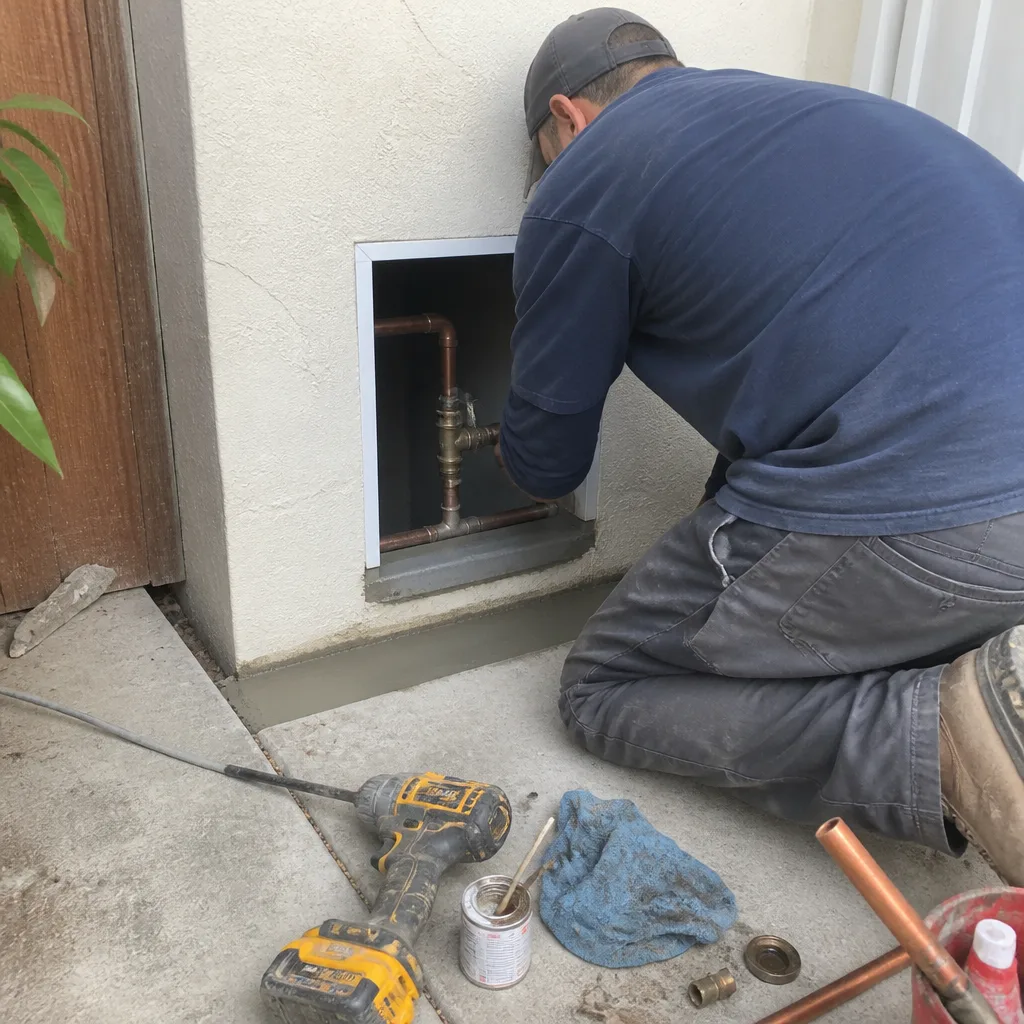 After
After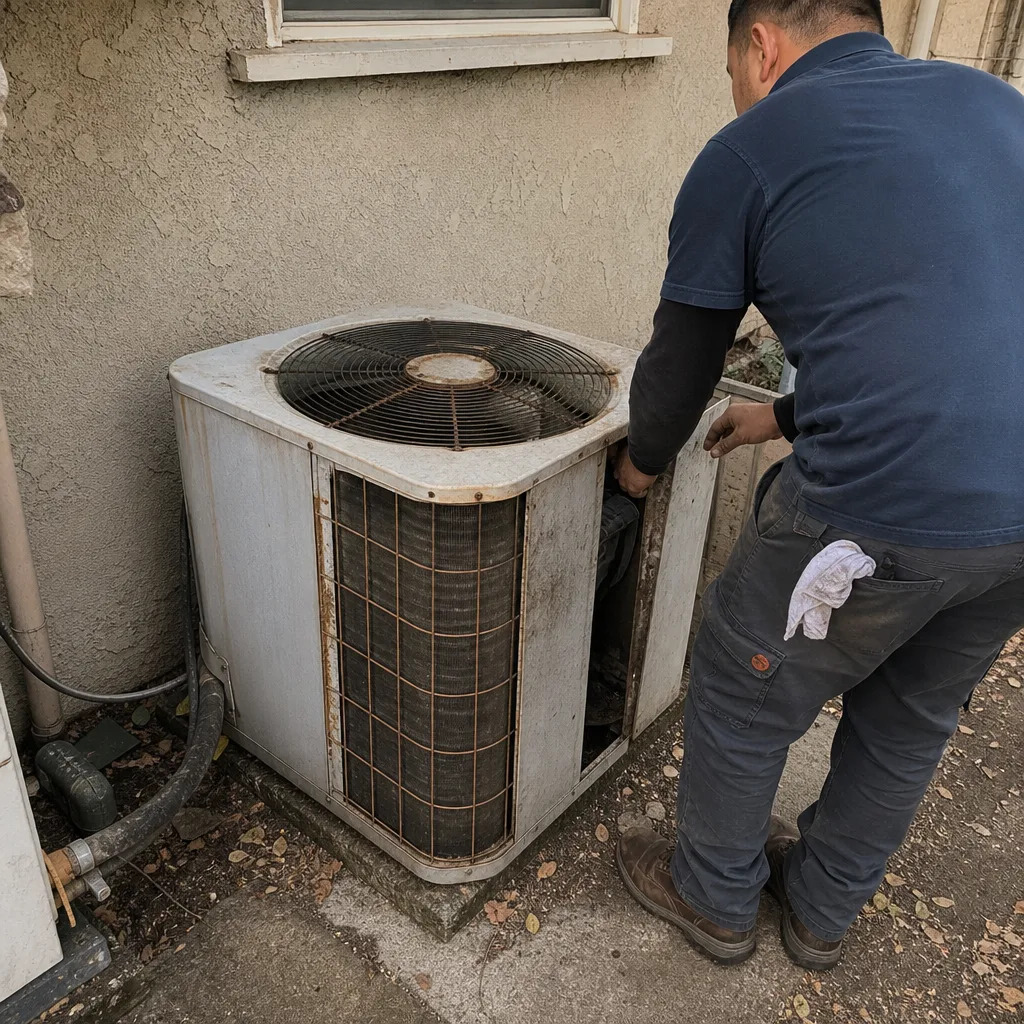 Before
 After
After Before
 After
AfterDIY or Call Us?
Replacing a Tamko shingle or re-sealing a small kickout flashing gap is within reach if you know which end of the ladder to climb and you stay off a wet roof. But the tie-in between an addition and the original house is the most failure-prone detail on a San Jose roof, and getting the sequencing wrong means you’ve moved the leak, not fixed it. The danger here isn’t springs or electrical; it’s a double fall – off the ladder and into a repair that fails during the first winter storm because the underlayment lap was wrong.
If you can see granule loss and you want to save money, clean the gutters and take photos from the ground so you know what you’re looking at. Anything involving removing shingles, peeling underlayment, or touching flashing at the wall intersection is where DIY stops being a savings and starts being a liability. Call us at (669) 272-2637 and we’ll send a written estimate for the exact scope, no pressure.
FAQs
A properly installed Tamko asphalt shingle roof on a San Jose addition lasts 20 – 25 years, but the flashing and underlayment at tie-in points typically need attention at the 12 – 15 year mark, sooner if the original install skipped primer or the ventilation is poor. Call (669) 272-2637 and we’ll inspect the tie-in points before you spend on a full re-roof.
Yes, step flashing and kickout flashing can be replaced without tearing off the rest of the roof, and that’s what we do when the shingle field is still sound – the repair typically runs $470 – $2,125 depending on how many linear feet of flashing and how much deck repair is needed. Call (669) 272-2637 for an exact line-item quote; estimates are free.
A flashing and underlayment repair at the tie-in usually takes one day, while a full roof replacement on a mid-sized addition takes two to three days including tear-off and site cleanup. We leave the site clean – no debris, no nails in the yard, no loose material, and a signed written guarantee in the homeowner’s hand before we leave.
We stock common Tamko TW underlayment rolls, step flashing, valley metal, and the Heritage shingle line in the colors most specified in San Jose, and we also keep KraftMaid, Cambria, and Silestone product lines for interior work on additions and ADUs. Odd-lot or discontinued Tamko series parts take 3 – 5 business days to source, and we tell you that before we write the estimate.
Contact
If your Tamko addition or ADU in San Jose is showing water at the tie-in, granule loss, or flashing pull-back, call us at (669) 272-2637. We’ll put a written price in your hand before any work starts, and every job carries the 365-Day Done Right Promise. Curtis Lane and the crew at Bradford Remodeling Co San Jose have run kitchen and bath gut-outs in Willow Glen and re-roofed additions all over this city – we know what a San Jose tie-in looks like after ten winters. We answer the phone, we show up when we say, and the price doesn’t move.
Written by Curtis Lane, Owner, Bradford Remodeling Co at Bradford Remodeling Co San Jose, serving San Jose and nearby areas.